Youtube Channel Trailers – How I created one.
Who doesn’t love a good trailer? A sneak peek at what’s to come is usually more than enough to persuade us we want to see more. The same goes for your YouTube channel. A glimpse of the channel’s video offerings could turn a visitor into a subscriber. It is one of the first things seen on your page. So, I decided it was time for NovaLoca to have one and this is how I did it:
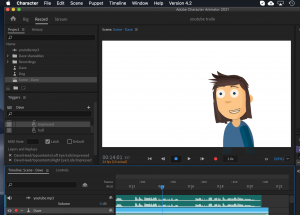
I chose a few random channels to watch their trailers for some research. I found the majority of channels had an overview of what they were about, often with someone talking to the camera. As we mainly produce animations at NovaLoca I decided I should use an animated character to do the talking but if you are more likely to appear in person in your films I think you should film yourself which can be done just on a smartphone.

Between 1 and 2 minutes seems like a good length of video to aim for. In other words, keep it short. In that space of time you want to briefly give a quick idea of who you are, what people are going to find on your channel and what they will benefit from their video viewings. If you have a regular schedule for posting you could include this. Finally you want a call to action to sign up to subscribe or visit your website etc. I did find it helpful to put together a short script, which I could also use for when it came time to add subtitles to my video.
We’ve already got videos on our NovaLoca channel so I used clips from these to create a highlight reel. This will help keep a consistent look.

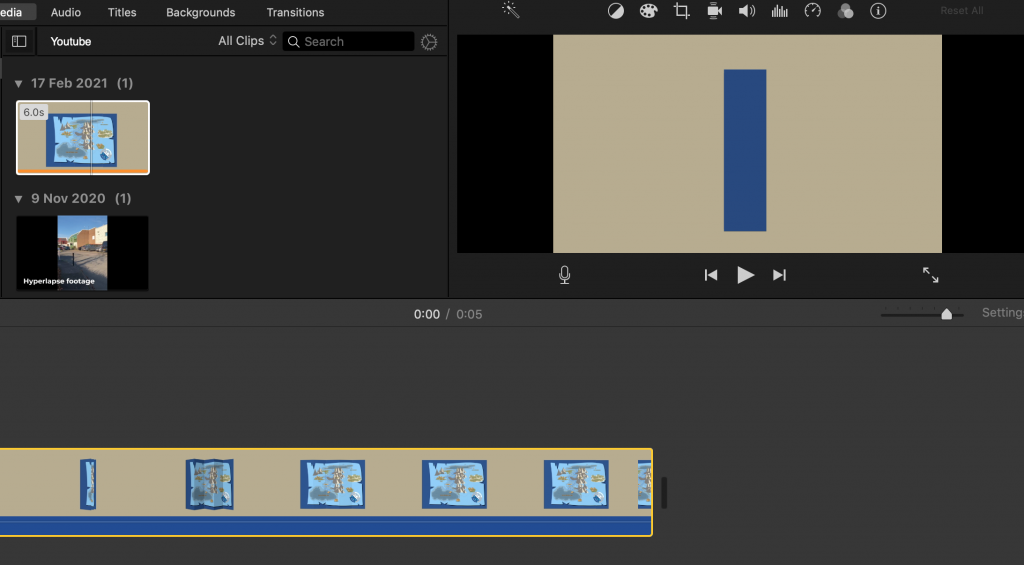
Youtube does have its own video editor but I put together the clips in iMovie which comes free with Apple products, so there is no need to spend on specialist software (although because I did want to overlay my animated character I did move on to Adobe Premiere Pro). Another reason I wanted to use iMovie is that you are licensed by Apple to use the music, jingles, and sound effects included on a royalty free basis for personal or commercial use. Youtube also has its own audio library. The audio is handily displayed with the length of the clip shown in either option which was a great way to time my video to a particular length.
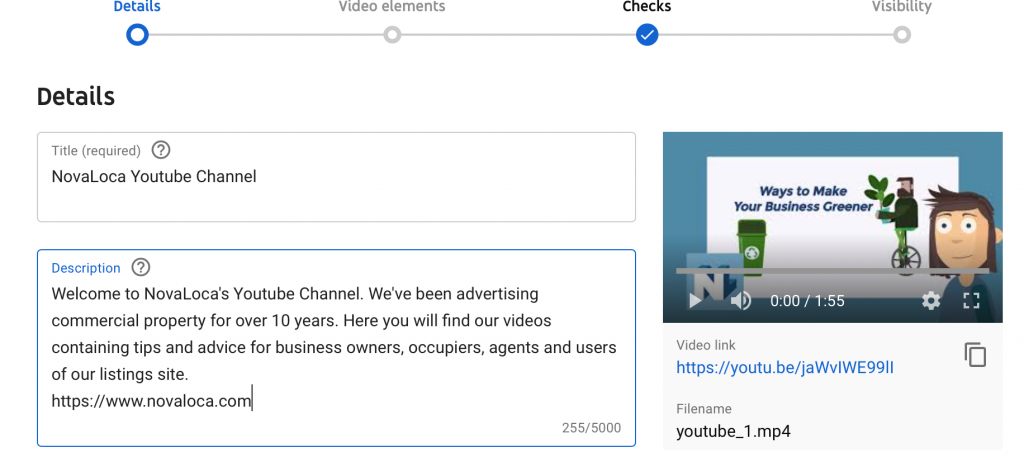
You then upload your video to your channel as usual. Make sure your video title and description match what content you’ve created.

Then go to your channel and hit the ‘Customise Channel’ button where you’ll be able to use the options shown below.

Once the trailer is up post yourself a reminder to review it every now and again so you can keep it up to date and relevant.
Now you can head over to our Youtube channel and see our final results!

